


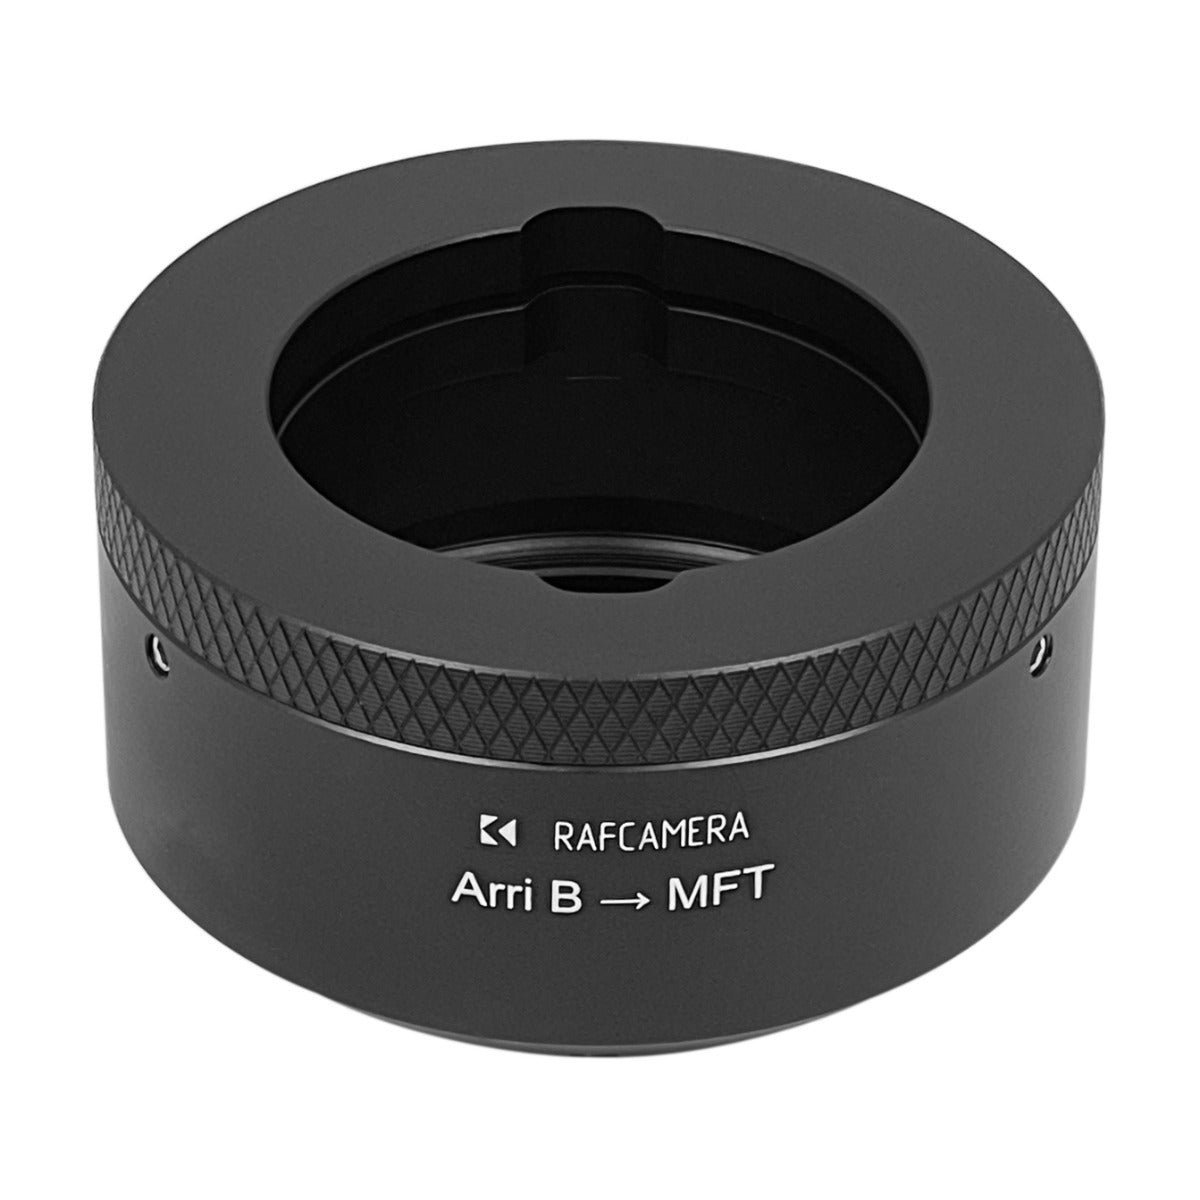
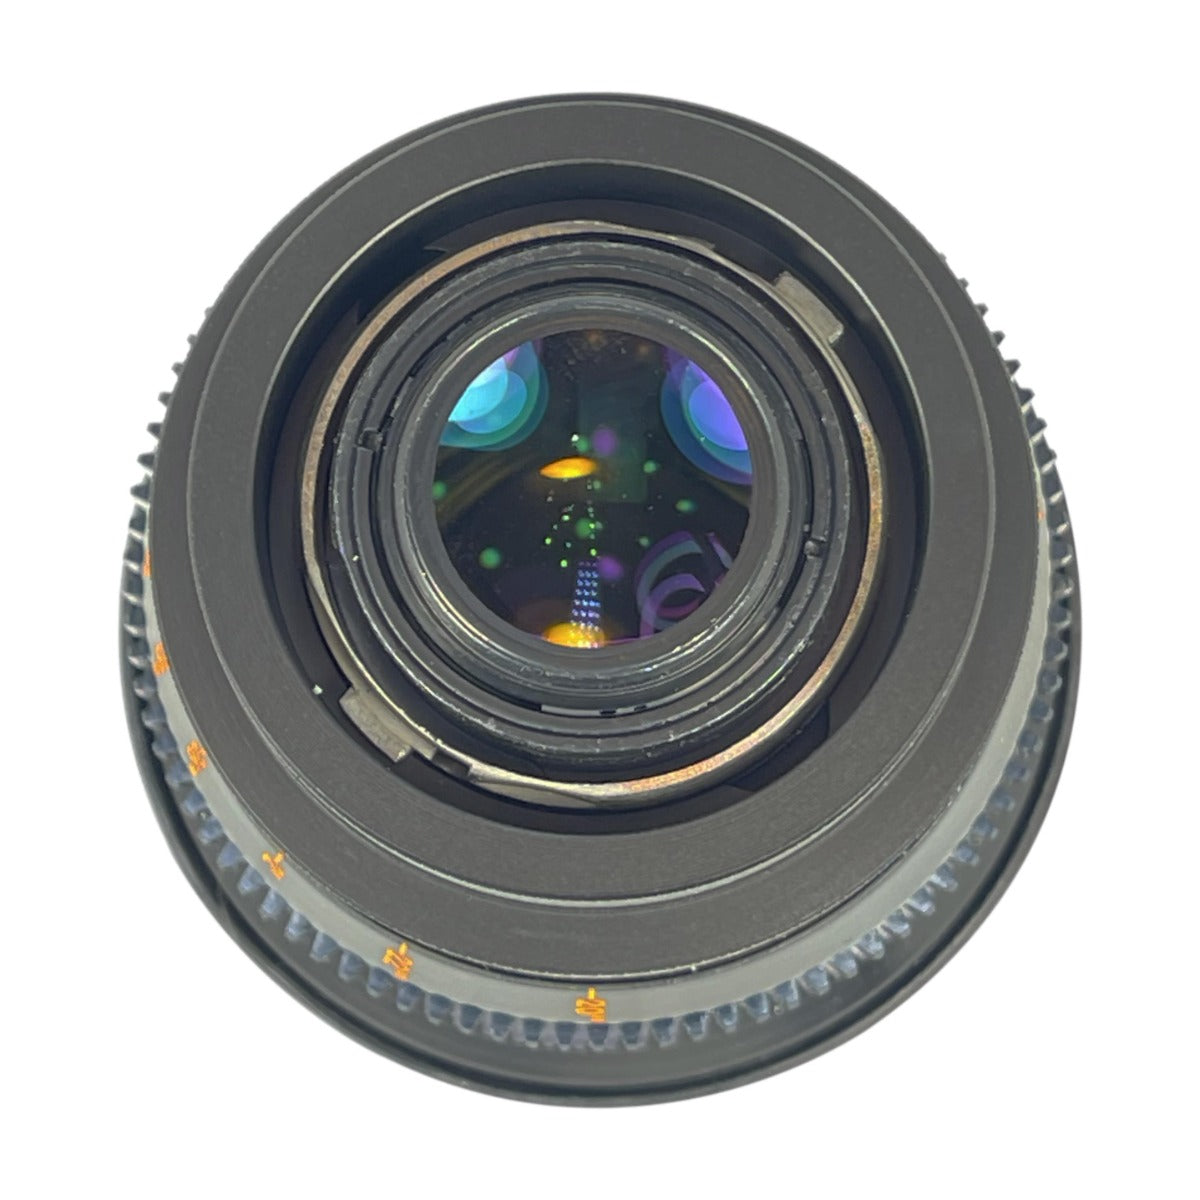
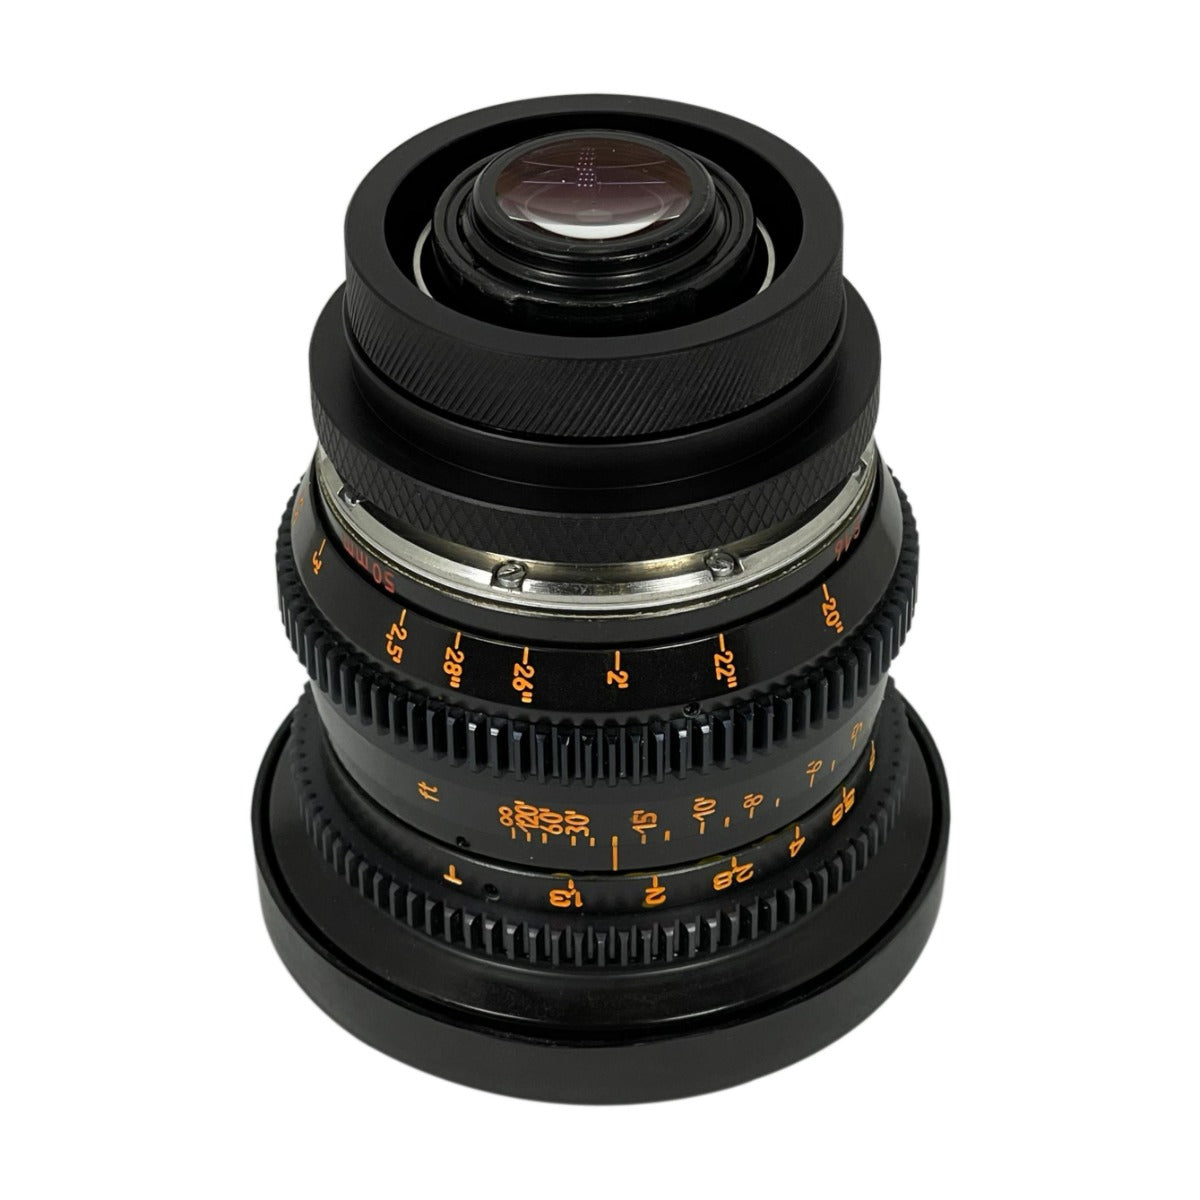
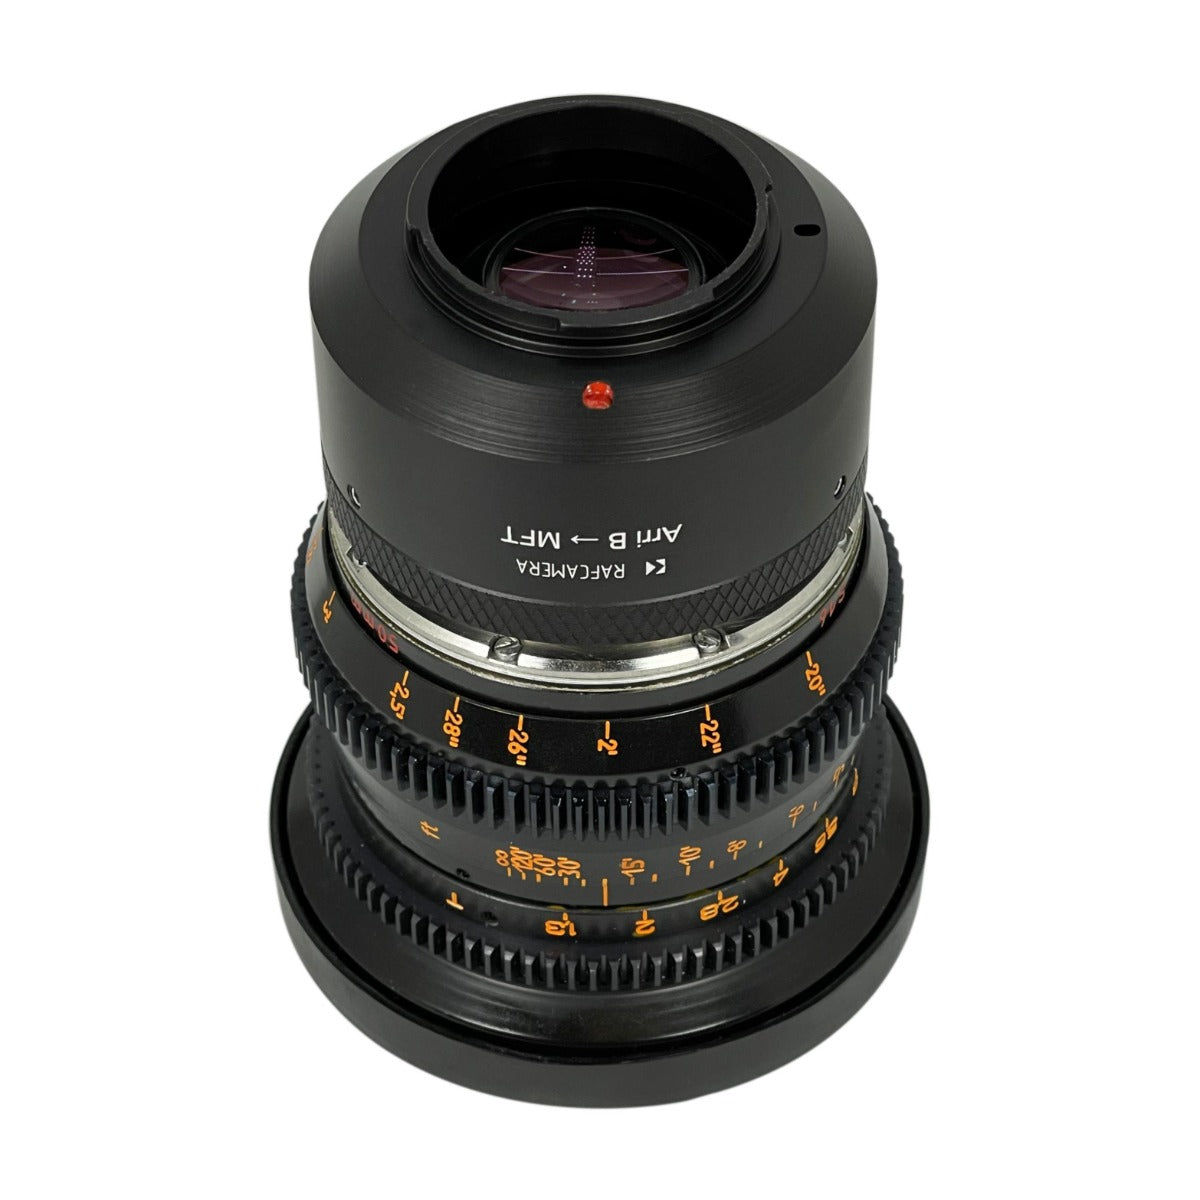
This adapter allows using lenses with Arri Bayonet (Arri-B) mount on cameras with Micro Four Thirds (also known as Micro 4/3 or MFT) mount.
The key feature of this adapter is that it pulls a lens mount lugs toward the camera, eliminating possible misfit of a lens that may happen on other adapters relying on tightening screws.
The drawback is that it is not universal, and lenses with Arri Standard mount will NOT work with it.
We'll post more photos showing a lens installation a bit later.
This adapter allows using lenses with Arri Bayonet (Arri-B) mount on cameras with Micro Four Thirds (also known as Micro 4/3 or MFT) mount.
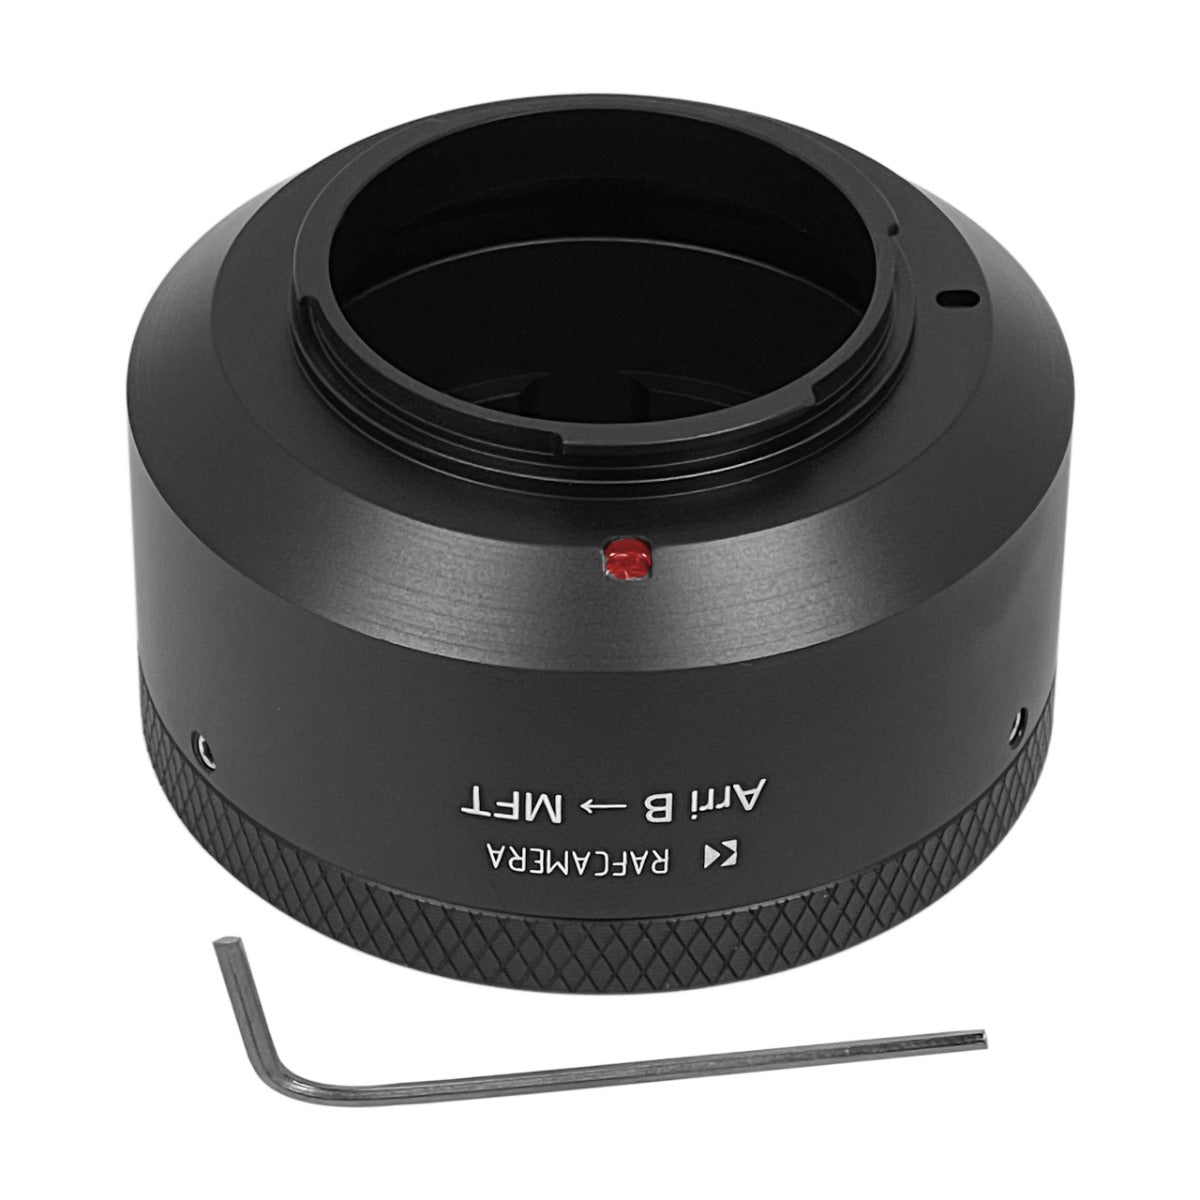
It works rather as a mount converter since installation takes a few minutes, not just a few seconds like with usual adapters.
Features
- Weight - 121 g
- Material - high-quality aluminium alloy
The key feature of this adapter is that it pulls a lens mount lugs toward the camera, eliminating possible misfit of a lens that may happen on other adapters relying on tightening screws.
The drawback is that it is not universal, and lenses with Arri Standard mount will NOT work with it.
Advantages
- Perfect and reliable fit on the lens
- Possibility to adjust the angular position of the lens witness mark
- The lens mount is not damaged by screws
Usage
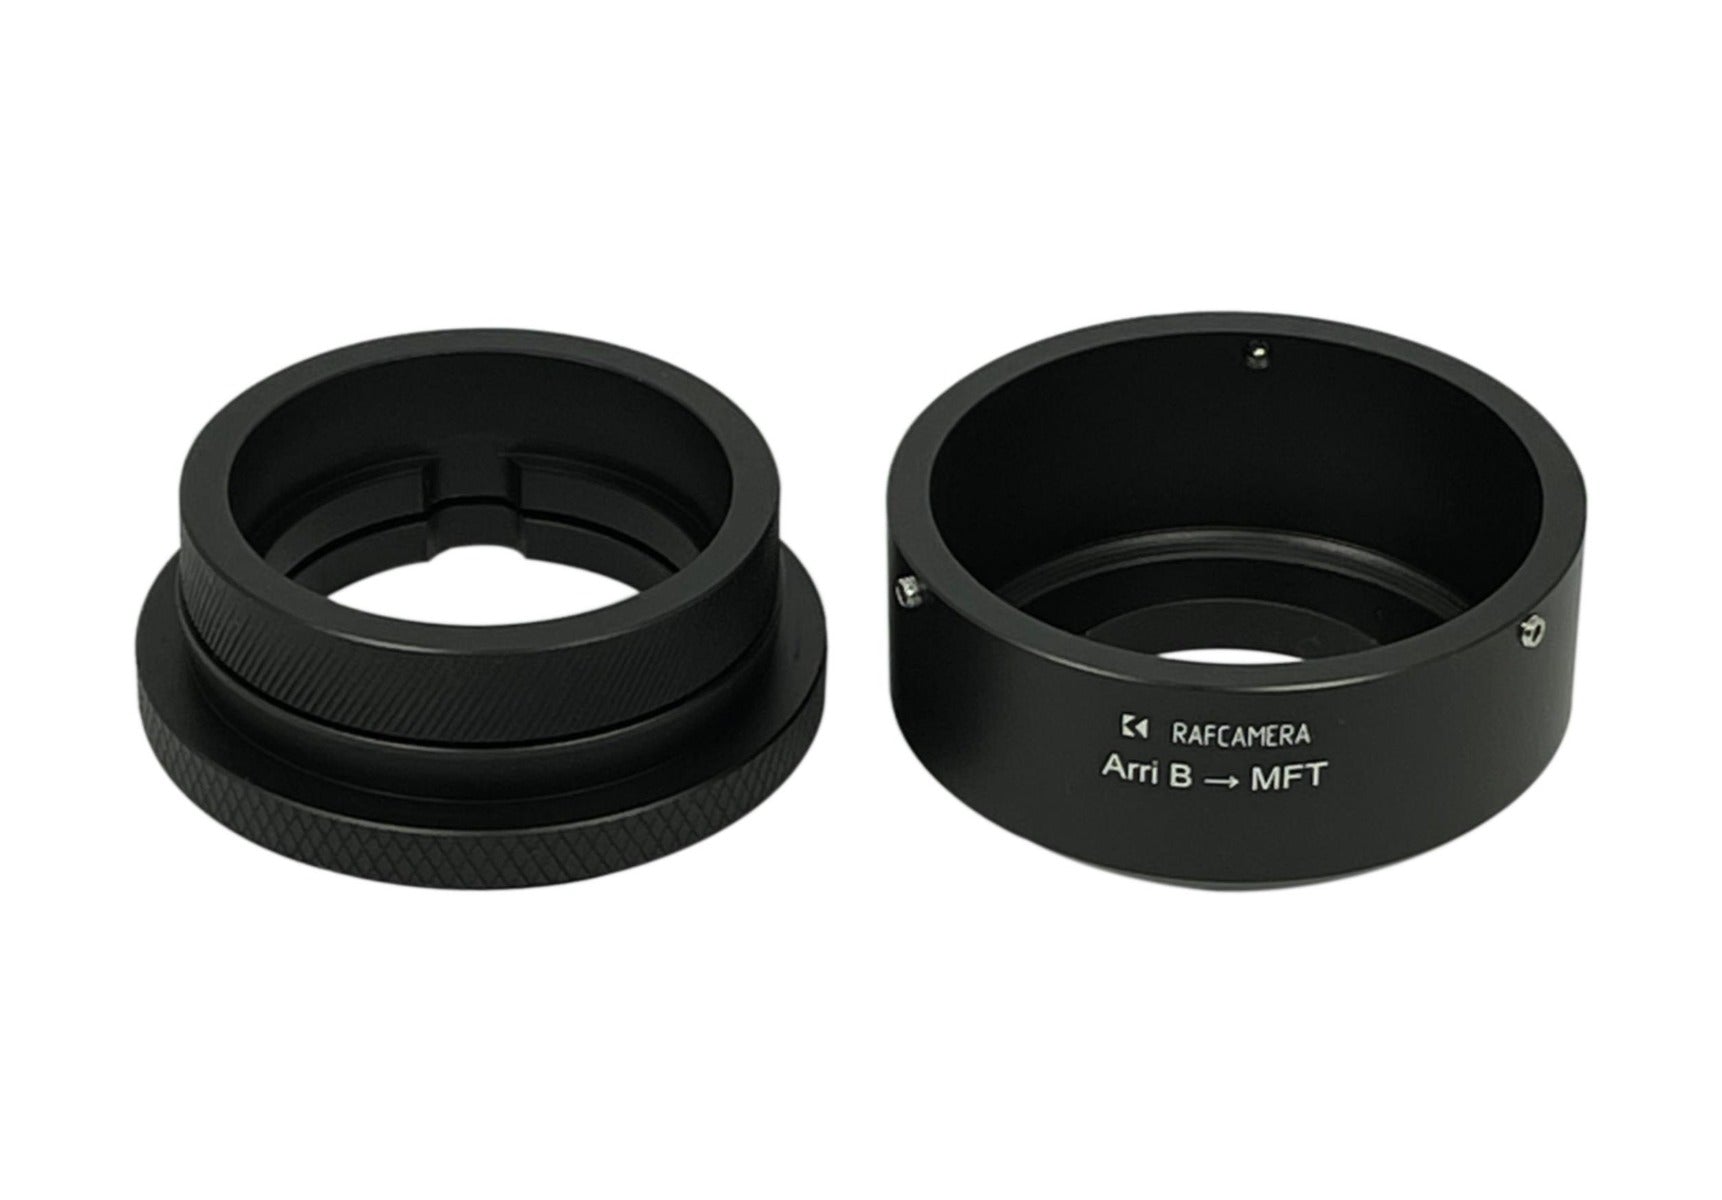
- Use the included 1.5mm hex wrench to detach the rear part of the adapter.
- Install the front part onto the lens mount.
- Turn the retaining ring of the front part counter-clockwise until it pulls the lens mount lugs tightly.
- Install the rear part of the adapter back, aligning the red index with the lens witness mark, and secure it with the set screws.
Compatible cameras
- Kodak S-1
- Olympus E-M1
- Olympus E-M1 II
- Olympus E-M1 III
- Olympus E-M10
- Olympus E-M10 II
- Olympus E-M10 III
- Olympus E-M10 IV
- Olympus E-M1X
- Olympus E-M5
- Olympus E-M5 II
- Olympus E-M5 III
- Olympus E-P1
- Olympus E-P2
- Olympus E-P3
- Olympus E-P5
- Olympus E-P7
- Olympus E-PL1
- Olympus E-PL1s
- Olympus E-PL2
- Olympus E-PL3
- Olympus E-PL5
- Olympus E-PL6
- Olympus E-PL7
- Olympus E-PL8
- Olympus E-PL9
- Olympus E-PM1
- Olympus E-PM2
- Olympus PEN-F
- OM System OM-1
- OM System OM-5
- Panasonic G1
- Panasonic G10
- Panasonic G100
- Panasonic G2
- Panasonic G3
- Panasonic G5
- Panasonic G6
- Panasonic G7
- Panasonic G85
- Panasonic G9
- Panasonic G9 II
- Panasonic G95
- Panasonic GF1
- Panasonic GF2
- Panasonic GF3
- Panasonic GF5
- Panasonic GF6
- Panasonic GF7
- Panasonic GF8
- Panasonic GH1
- Panasonic GH2
- Panasonic GH3
- Panasonic GH4
- Panasonic GH5
- Panasonic GH5 II
- Panasonic GH5S
- Panasonic GH6
- Panasonic GM1
- Panasonic GM5
- Panasonic GX1
- Panasonic GX7
- Panasonic GX8
- Panasonic GX85
- Panasonic GX850
- Panasonic GX9
- YI M1